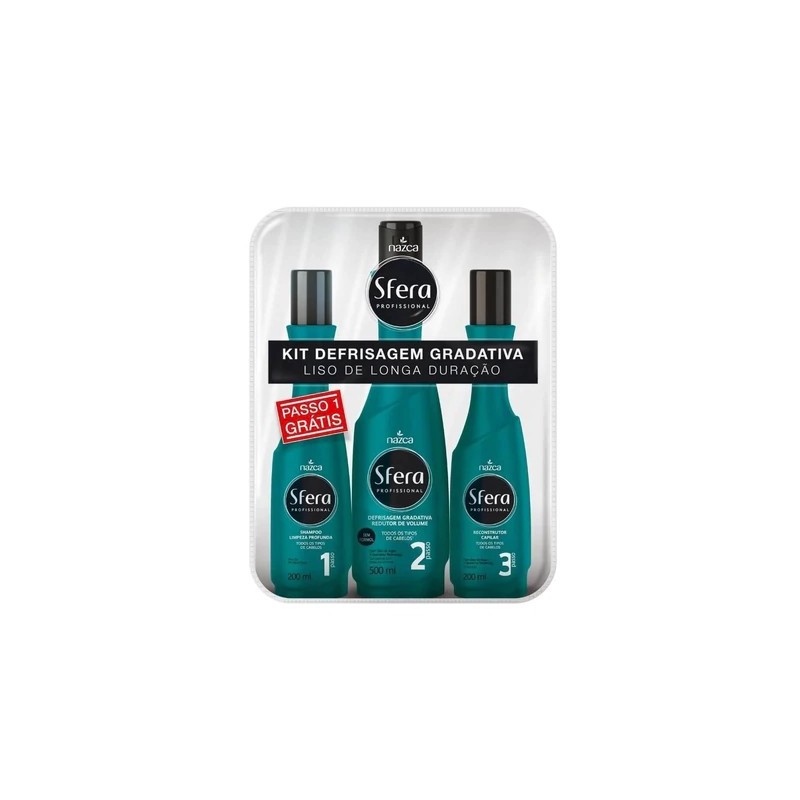
Sfera Gradual Smoothing Anti Frizz Brazilian Hair Smoothing 3 Itens - Nazca
 100% secure payments


GRADATIVE SCRENING PROFESSIONAL SFERA ensures the alignment of the threads thanks to a combination of proteins and amino acids, leaving them progressively smoother.
Its exclusive formula contains argan oil and keratin technology, an exclusive technology that helps in the replacement of hair keratin. Rich in essential amino acids, this technology protects threads during the process, helping to repair threads.
Feature/Action
GRADUAL EFFECT
With each application of GRADATIVE DEFRISAGEM SFERA PROFESSIONAL, the progressive effect is intensified, leaving hair smoother and with controlled volume. The smoothing effect and its durability (temporary, on average 2 months) may vary depending on the type of hair.
Contains :
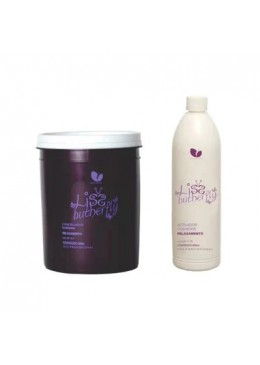
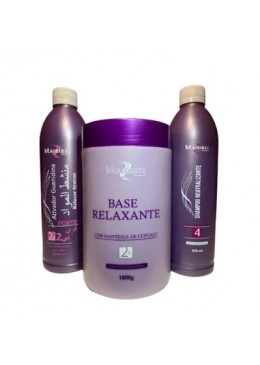
- Deep Cleansing Shampoo 200ml
- Progressive relaxer volume reducer 500ml
- Hair reconstructor 200ml
Suggested use
CAUTION: We do not recommend use for fragile, dry or opaque hair (without shine).
STEP 1 - TOUCH TEST
The touch test is a procedure that must be performed and repeated for each application:
1. Wash a small area on the forearm or behind the ear.
2. Apply a small amount of Volume Reducer to the forearm or behind the ear and leave on for 10 minutes.
3. Wash application site with plenty of water and wait 24 hours.
4. After 24 hours, check the application site and if there is skin irritation, itching, burning on the site or nearby areas, do not use the product.
Remember that every product can cause an allergic reaction, so always do a touch test before using it.
STEP 2 - HOLD TEST
5. Separate a small strand in the crown area of the head and apply the Volume Reducer using a brush with a non-metallic handle, keeping a distance of 1.0 cm from the root.
6. Let the product act for 15 minutes. Then, align the strands of the wick using a comb in the same direction as the birth of the strands.
7. Dry the wick by brushing and finish using a flat iron heated to 200°C (recommended temperature), iron the wick flat 6 to 10 times.
8. Wait for the wicks to cool for about 15 minutes.
9. Rinse thoroughly with water until all product is removed.
CAUTION: If after the wick test your hair is brittle, dry or lacks elasticity, it is a sign that your hair is not in good condition to use the product. We recommend using the SFERA PROFESSIONAL RECONSTRUCTION AND STRENGTH range. After 30 days perform a new wick test.
STEP 3 - PREPARING FOR THE PROGRESSIVE BRUSHING PROCESS
10. Gather all necessary materials.
NECESSARY MATERIAL
• A plastic container
• Disposable gloves (already included with the product)
• Brush with non-metallic handle
• Comb
• Towels
• Non-metallic clips
• Hair dryer
• Modeling brush
• Flat iron (plank)
• The clock
STEP 4 - WIRES SANITATION
11. Apply Deep Cleansing Shampoo (Step 1) to wet hair, massage into a lather and rinse. Repeat the operation and rinse your hair well.
12. Remove excess water from hair with a towel.
13. Dry 100% of the hair with the aid of a hair dryer.
STEP 5 - APPLICATION OF THE VOLUME REDUCER
14. Comb the hair that is still dry, leaving it completely untangled.
15. Add the entire contents of the Volume Reducer (Step 2) to a plastic, ceramic or glass container. Divide the hair into four parts: from the middle of the forehead to the nape of the neck and from ear to ear. If necessary, secure with plastic fasteners to facilitate application.
16. Put on the gloves already contained in this kit.
17. Start the Volume Reducer application 1.0 cm away from the scalp.
18. With the help of a non-metallic handle brush, separate a thin lock of hair from the nape region and, holding it with your hands, quickly apply the product. It is important to always observe the direction of birth of the threads, applying the product along the length and preventing them from bending, facilitating breakage. Repeat the above procedure for the entire length of hair, from root to tip, lock by lock.
ATTENTION: For a satisfactory effect, it is important to ensure the application of the product throughout the hair, so align the strands with the aid of a comb, making the product to be spread throughout the hair.
19. Allow the Volume Reducer to act for 15 minutes. Do not exceed this time. Do not rinse.
20. Dry your hair with the aid of a hair dryer, carrying out the brushing process. Start this process from the strands of the nape of the neck until all the hair is brushed.
21. Then, with the aid of a flat iron heated to 200 ºC (recommended temperature) plan strand by strand 6 to 10 times each (always work with thin strands always keeping the divisions and positions according to the cut and/or desired fit). Start with the locks at the back of your neck. This process is fundamental for the realignment of the wires.
22. Wait at least 15 minutes for hair to cool down.
STEP 6 - RINSING
23. Rinse all hair with plenty of warm water. Remove the Volume Reducer with your hands, massaging the hair and scalp for total removal of the product. Rinse the back of the neck and temples very well, which we intuitively protect from getting into the eyes.
ATTENTION: The rinse is essential for removing the product, thus avoiding the permanence of residues on the scalp.
STEP 7 - RECONSTRUCTION AND FINALIZATION
24. Apply the Hair Rebuilder (Step 3) along the entire length of the hair, massaging gently.
25. FOR ALL HAIR TYPES AND BLONDE VERSIONS: Leave the Rebuilder to act for 3 minutes and rinse with plenty of water until all the product is removed from the hair. FOR BROWN VERSION: Let the Reconstructor act for 10 minutes and rinse with plenty of water until all the product is removed from the hair.
26. Remove excess water from the hair with the help of a towel.
27. Comb your hair and, using a blow dryer, direct the air jet downwards and dry the hair by sliding your fingers along the length to the ends. If desired, use a brush to shape the ends.


